
2016
Photos


Photos by Stephan Polatschek


Double Bell / Prior Fire Fireplace


MHA's crew of professional brick masons goes to work on the facing. Check out the time stamps on the photos as the facing goes up.

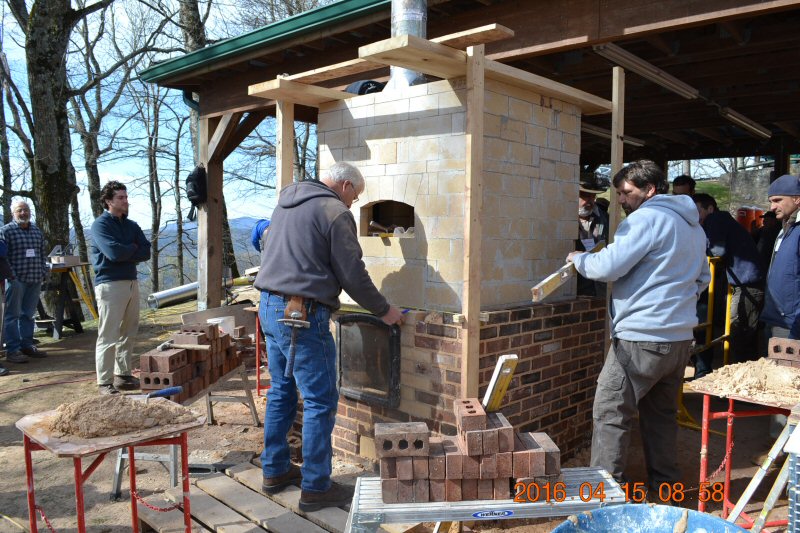


2 hours later - facing almost done.

Chris Prior stacks his top down burn.

Ready to light.


Combustion Testing Workshop
MHA Technical Committee, with special thanks to Carsten Homstead and Boris Kukolj
Heater is a single bell, with wraparound heated bench that joins at the remote rear chimney. There is a bench bypass for cold starts.

Chimney is at the bottom of the photo. Heater was a one-off design by Carsten Homstead,
designed to provide heated seating for the pizza party, and to demonstrate a low height
single bell with an Austrian spec eco-labelled firebox.

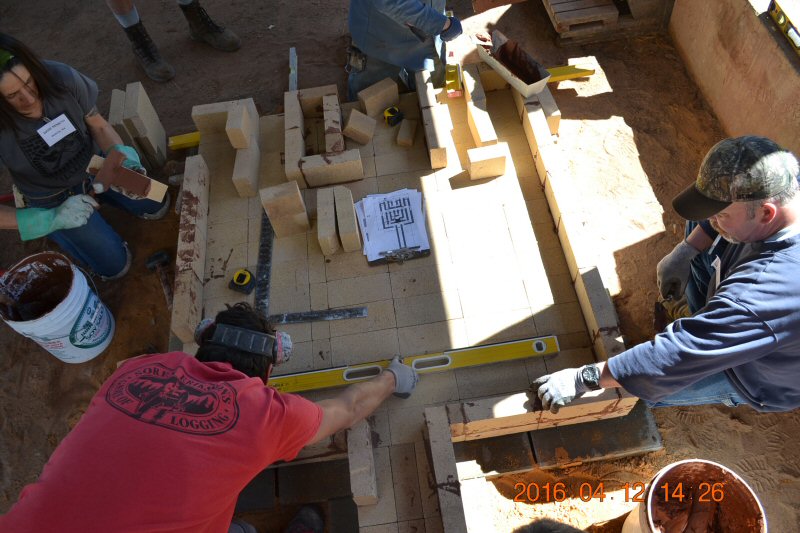
Course 5

Hammer sits on top of a cast iron bypass damper to bypass the bench for cold starts.
The heater did prove a little slow to start when it was fresh. It was very hard to get a temperature reading much above ambient in the
benches, with the bypass closed. Even at full burn, you could put your hand on single wall chimney connector pipe.


Arrow shows spacer strip with ceramic paper corner gasket. This creates a gap for the air supply to the horizontal air slots
in the firebox. The gasket is an expansion joint, used at the inside corners.

Single downdraft heat exchange section behind the firebox. The interior bricks in this "bell" provide extra heat exchange surface.

Course 8

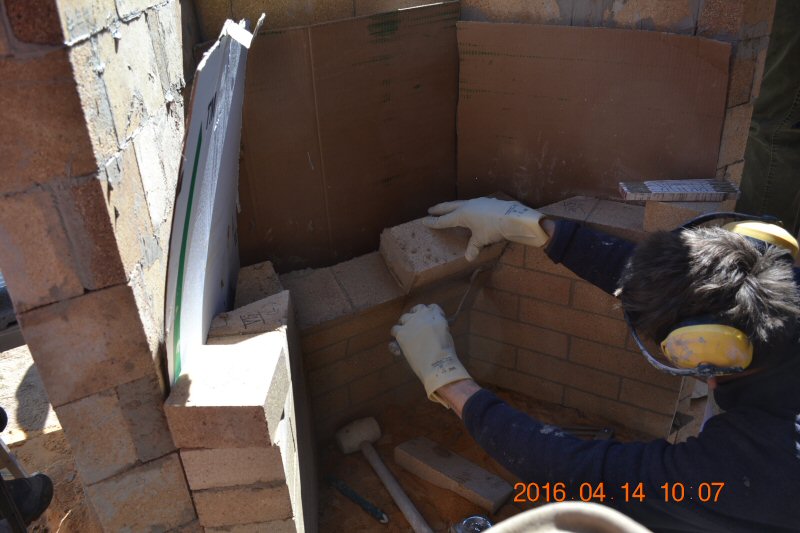
Note the cardboard expansion joint at the corner, between the firebrick heater core and the clay brick facing.
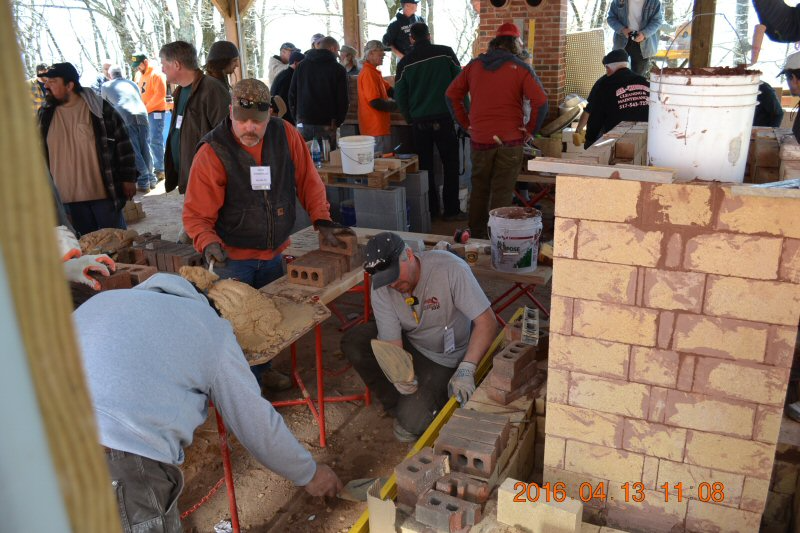
This heater needed to go up fast, to get ready for testing. MHA's has some very seasoned production brick masons
that are ready when needed.
The Frisch gang.


Interior baffle will be just beneath the firebox ceiling. Gases from the firebox exit towards the front (top of photo).

Bench is designed to be cappable with regular 9" firebricks.


Course 13
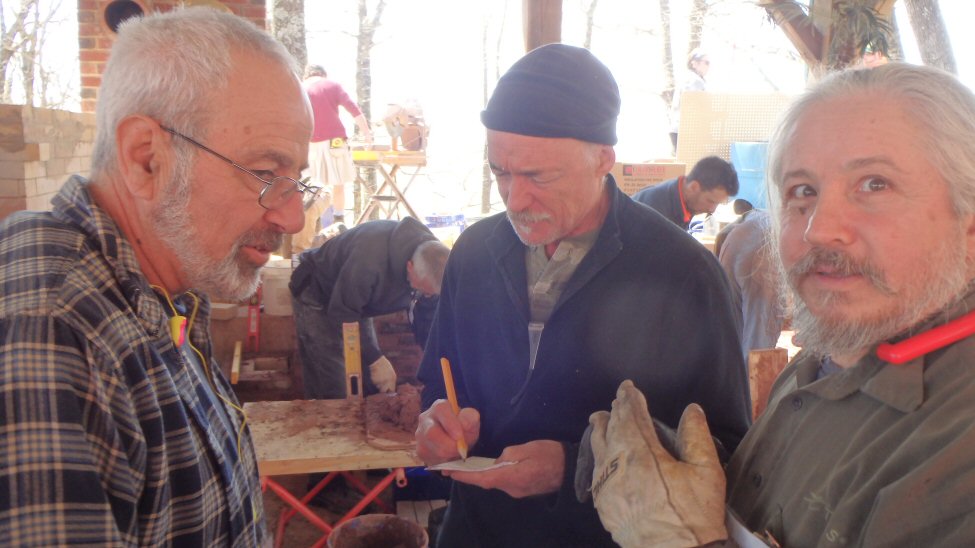
Matt Helicke tools his joints. The mortar is Goldart fireclay and sand.
Cardboard wrap for heater core.
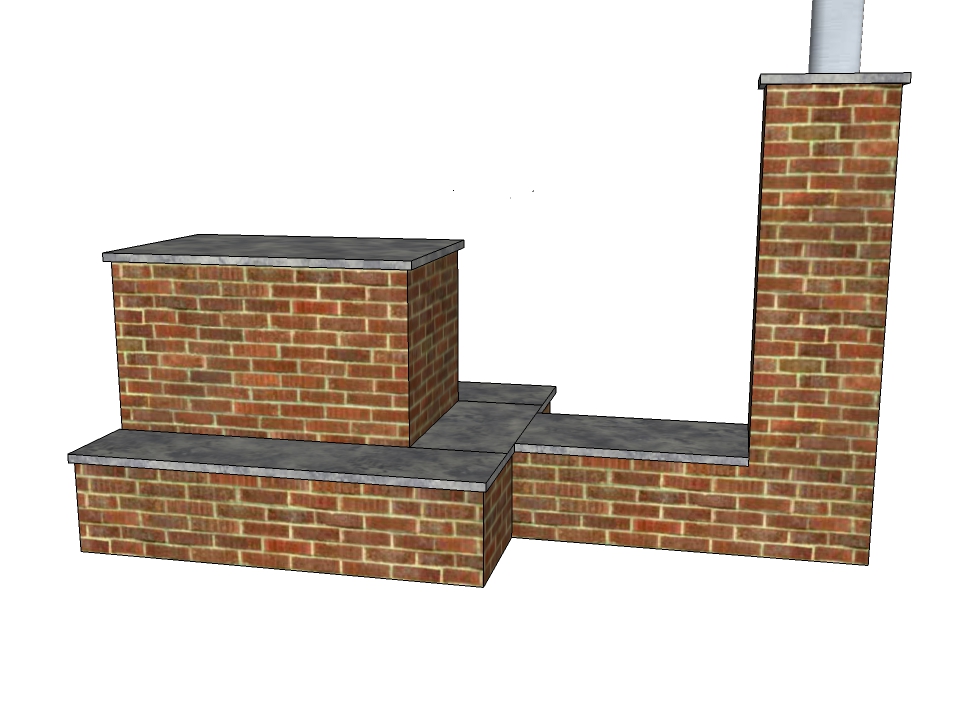
Side Section
Installing the firebrick tile ceiling slabs.
Finishing the brick section of chimney.
Custom airframe for firebox door.
When curing the heater, there was a very large temperature drop in less than 30" of downdraft, on the order of 150 degrees F.
This difference became less as the bricks got saturated with heat.
Running up the brick facing. 1:45 PM
3:00 PM.
Chimney transition to single wall 6" connector pipe.
Installing the chimney.
Alberene Soapstone donated several large soapstone slabs that were cut up for bench tops and capping stones.


Door install into the airframe.
Day 1, 10:00 PM - Lighting the curing fire.
One hour later.
Day 3, 8:00 AM.
Fire has been burning all night. Note some of the lightened mortar joints, where the bricks are starting to get dry on the outside.
A bit more drying can be seen.
Reload on the curing fire.
Shortly after the start, the plume from the stack is mostly steam.
A very faint residue is visible after the steam evaporates.

Almost pure steam


Cutting out the soapstone slabs for the bench tops and heater cap.
Installing the soapstone bench tops.
More drying is evident.


First test run. Heater was still warm (390F firebox temperature) from the overnight curing fire.
Test Results
The first run was very good, considering it was a partially cured heater.
For the second run, the combustion air had been left closed overnight, which allowed moisture to migrate back inwards.
There was lots of water in the stack, and the stack temperature was 40 degrees lower. As a result, PM was fairly high for an eco-firebox.
Run three was good, with extremely low CO, PM under 1 g/kg, and overall efficiency over 80%. In pellet stove testing Condar efficiency
has generally been 1% - 3% lower than calculated B-415 efficiency.
Calculator tuning:
Test 1:
Calculated flue gas temp @ heater exit @ peak of burn (lowest O2 point) : 238F
Actual temp : 227F
Saturday morning, a couple of hours after the finish of the pizza party.
Heater was still hot, which makes for a difficult demo later in the morning.
No Comments